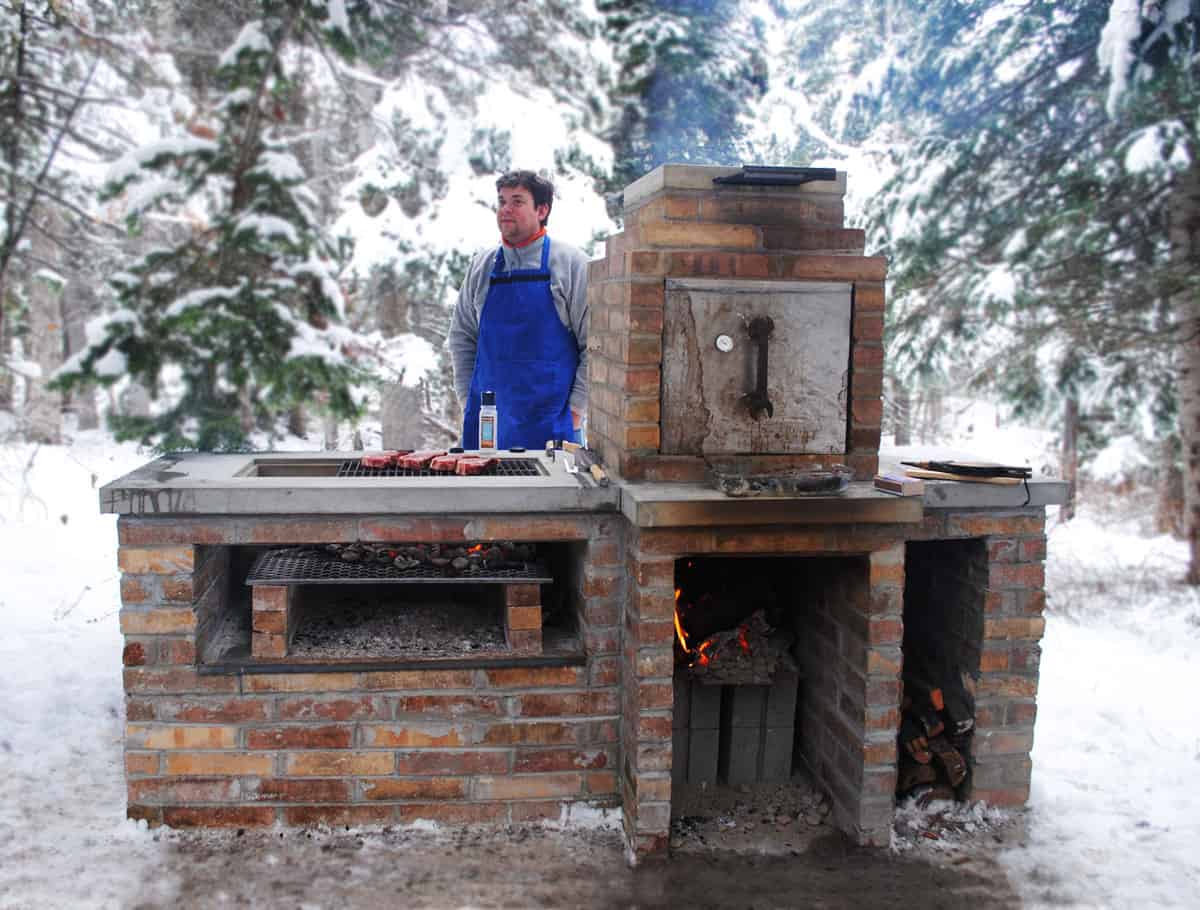
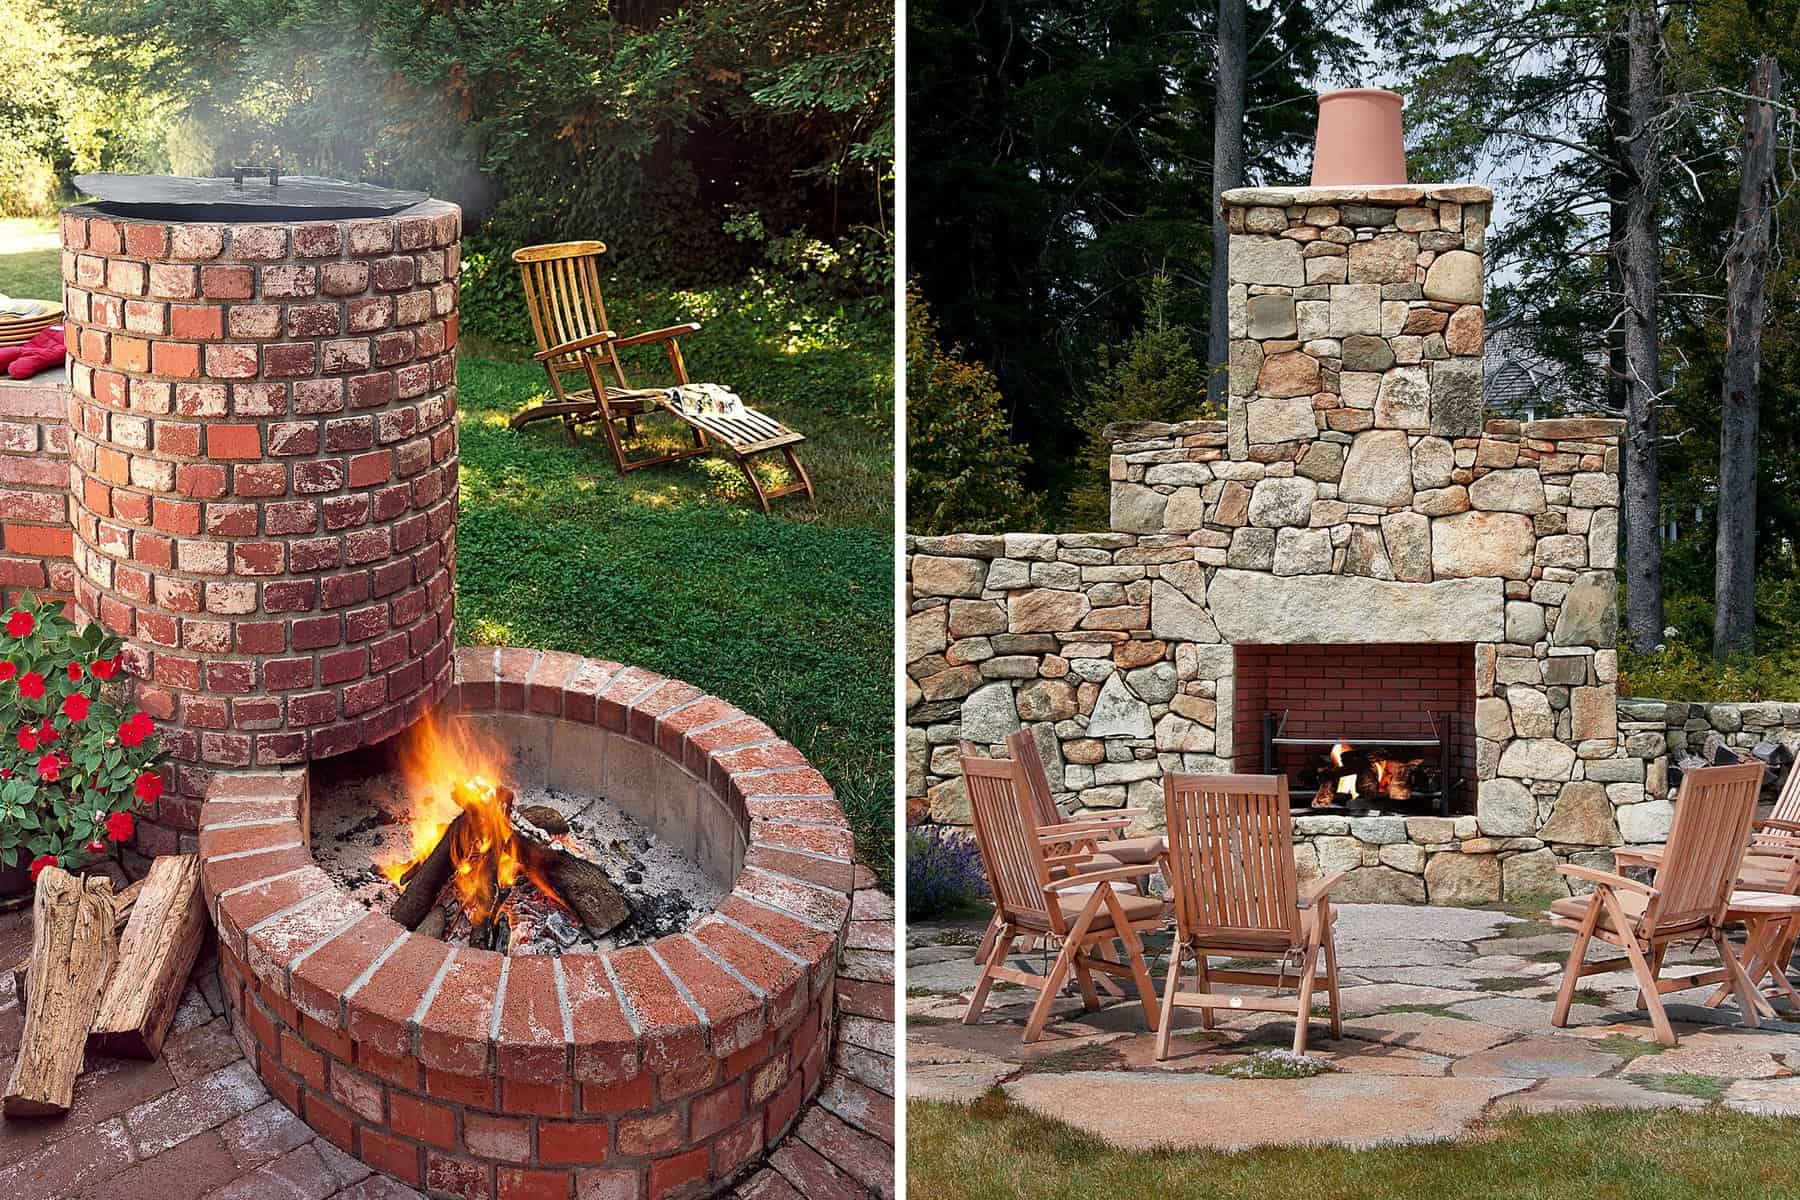
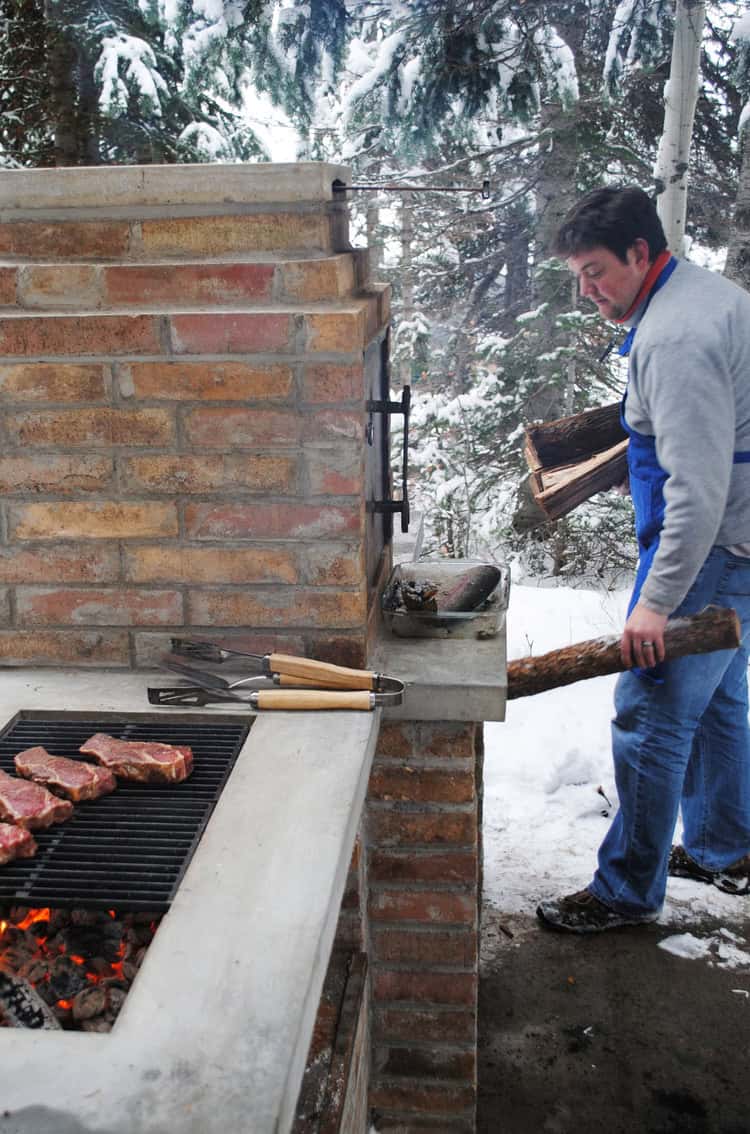
To build a brick smoker, construct a sturdy brick structure with a firebox, smoking chamber, and chimney, ensuring proper airflow and insulation for effective smoking.
From Bricks to BBQ: Tips and Tricks for Building Your Own Smoker
Building your own smoker can be a rewarding and fulfilling project for any barbecue enthusiast. There are several reasons why you might choose to build your own smoker instead of buying a pre-made one. First and foremost, building something with your own hands can be incredibly satisfying. The process of designing and constructing your own smoker allows you to take pride in your craftsmanship and create something unique.
Another advantage of building your own smoker is the ability to customize it to fit your specific needs and preferences. You can choose the size, shape, and style that best suits your cooking needs. Whether you prefer a traditional offset smoker or a more modern pellet smoker, building your own allows you to tailor the design to your liking.
Cost savings is also a significant factor when it comes to building your own smoker. While pre-made smokers can be quite expensive, building one yourself can save you a significant amount of money. By sourcing the materials and doing the labor yourself, you can create a high-quality smoker at a fraction of the cost.
Choosing the Right Materials for Your Smoker
When it comes to choosing the materials for your smoker, there are several factors to consider. The most common material used for smokers is metal, typically steel or stainless steel. Steel is durable and retains heat well, making it an excellent choice for smokers. Stainless steel is even more resistant to rust and corrosion, but it can be more expensive.
Other materials to consider for your smoker include bricks or cinder blocks. These materials are often used for building the foundation of the smoker and can provide excellent heat retention. Bricks and cinder blocks are also readily available and relatively inexpensive.
When choosing materials for your smoker, it’s essential to consider factors such as durability, heat retention, and ease of maintenance. You want to select materials that will withstand high temperatures and last for many years without deteriorating.
Designing Your Smoker: Size, Shape, and Style
Designing your smoker involves making decisions about the size, shape, and style that best suits your needs. The size of your smoker will depend on how much food you plan to cook at once and the available space you have. It’s essential to consider both the cooking chamber and the firebox when determining the size of your smoker.
The shape of your smoker can also vary depending on personal preference and cooking style. Traditional offset smokers have a horizontal design with the firebox attached to the side. Vertical smokers, on the other hand, have a more compact design with the firebox located at the bottom and the cooking chamber above.
Different styles of smokers have their advantages and disadvantages. Offset smokers are known for their ability to produce a smoky flavor, but they require more attention to maintain consistent temperatures. Pellet smokers offer convenience and precise temperature control but may lack the traditional smoky flavor.
When designing your smoker, it’s crucial to create a design that fits your needs and preferences. Consider factors such as ease of use, temperature control, and the type of fuel you plan to use.
Building the Foundation: Laying the Bricks
The foundation of your smoker is crucial for stability and durability. Laying bricks or cinder blocks is a common method for building a solid foundation for your smoker. Here are some steps to follow when laying the foundation:
1. Prepare the area: Clear the area where you plan to build your smoker and ensure it is level and stable.
2. Lay the first row: Start by laying a row of bricks or cinder blocks in a straight line. Use a level to ensure they are level and adjust as necessary.
3. Build subsequent rows: Continue laying rows of bricks or cinder blocks, staggering them to create stability. Use mortar or concrete mix to secure each row in place.
4. Check for levelness: Use a level to check the levelness of each row as you go. Adjust as necessary to ensure a stable foundation.
5. Allow for airflow: Leave gaps or openings in the foundation to allow for proper airflow to the firebox.
There are different methods for laying bricks or cinder blocks, such as dry stacking or using mortar. Choose the method that best suits your skills and preferences.
Adding Insulation: Keeping the Heat In
Insulation is essential for maintaining consistent temperatures in your smoker. It helps to retain heat and prevent heat loss, ensuring that your food cooks evenly. There are several types of insulation you can use for your smoker, including fiberglass, ceramic fiber, and mineral wool.
Fiberglass insulation is a common choice due to its affordability and availability. It is relatively easy to install and provides good heat retention. However, fiberglass can deteriorate over time and may release small particles into the air.
Ceramic fiber insulation is another option that offers excellent heat retention and durability. It is more expensive than fiberglass but can withstand higher temperatures.
Mineral wool insulation is made from natural materials such as rock or slag. It provides good heat retention and is resistant to moisture and pests. However, it can be more challenging to find and may be more expensive than other options.
When installing insulation in your smoker, it’s essential to follow the manufacturer’s instructions and ensure proper coverage. Insulation should be placed between the cooking chamber and the outer shell of the smoker.
Building the Firebox: Fueling Your Smoker
The firebox is where you will generate the heat and smoke for your smoker. When designing and building your firebox, there are several factors to consider. First, you need to determine the size of the firebox based on the amount of food you plan to cook and the type of fuel you will be using.
Different types of fuel can be used in a smoker, such as wood, charcoal, or pellets. Each type of fuel has its advantages and disadvantages. Wood provides a traditional smoky flavor but requires more attention to maintain consistent temperatures. Charcoal offers convenience and longer burn times but may not produce as much smoke flavor. Pellets provide precise temperature control and consistent smoke production but may lack the traditional smoky flavor.
Proper airflow is crucial in the firebox to ensure even heat distribution and smoke circulation. You can achieve this by incorporating vents or dampers into your design. These allow you to control the amount of air entering the firebox, which affects the temperature and smoke production.
When building your firebox, it’s essential to consider safety measures such as using heat-resistant materials and ensuring proper ventilation. Follow the manufacturer’s instructions for any components or accessories you use in your firebox.
Installing the Grates: Preparing for Cooking
The grates in your smoker are where you will place your food for cooking. There are different types of grates available, including stainless steel, cast iron, and chrome-plated grates. Each type has its advantages and disadvantages.
Stainless steel grates are durable, easy to clean, and resistant to rust and corrosion. They provide even heat distribution and are suitable for most types of food.
Cast iron grates retain heat well and create excellent grill marks on your food. However, they require more maintenance to prevent rusting and may be more challenging to clean.
Chrome-plated grates are affordable and easy to clean. However, they may not retain heat as well as stainless steel or cast iron.
When installing grates in your smoker, it’s essential to ensure they are level and stable. They should fit securely in place without wobbling or shifting during cooking. Regular cleaning and maintenance of your grates will help prolong their lifespan and ensure optimal cooking performance.
Adding the Chimney: Ventilation and Smoke Control
Proper ventilation and smoke control are crucial for a well-functioning smoker. The chimney plays a significant role in achieving this. There are different types of chimneys you can use, such as straight chimneys, angled chimneys, or smokestacks.
Straight chimneys are the most common and provide good ventilation and smoke control. They should be positioned at the opposite end of the firebox to create a draft that pulls smoke and heat through the cooking chamber.
Angled chimneys or smokestacks can be used to direct smoke away from the cooking chamber or to control the direction of airflow. They can be beneficial in certain situations but may require additional design considerations.
When installing a chimney in your smoker, it’s essential to ensure it is properly sealed to prevent leaks. Leaks can result in heat loss and inconsistent temperatures. Follow the manufacturer’s instructions for installing and sealing your chimney.
Finishing Touches: Sealing and Painting Your Smoker
Sealing your smoker is essential for preventing heat loss and moisture buildup. It also helps to protect the metal or other materials from rust and corrosion. There are different types of sealants you can use, such as high-temperature silicone or gasket material.
High-temperature silicone is a popular choice for sealing smoker joints and seams. It is heat resistant and provides a durable seal. Gasket material can also be used to create an airtight seal between components.
When painting your smoker, it’s important to choose a high-temperature paint that can withstand the heat generated during cooking. High-temperature paints are available in various colors and finishes, allowing you to customize the appearance of your smoker.
Before applying any sealant or paint, make sure the surface is clean and free of debris. Follow the manufacturer’s instructions for proper application and curing times.
Tips for Maintaining Your Smoker: Cleaning, Storage, and Repairs
Proper maintenance is essential for ensuring the longevity and performance of your smoker. Here are some tips for cleaning, storing, and making repairs to your smoker:
– Regularly clean the cooking chamber, grates, and firebox to remove any residue or buildup. Use a grill brush or scraper to remove stuck-on food particles.
– Store your smoker in a dry, covered area when not in use. If possible, protect it from extreme temperatures and weather conditions.
– Make repairs as needed, such as replacing worn-out grates or seals. Follow the manufacturer’s instructions or consult a professional if you are unsure how to make a specific repair.
– Regularly inspect your smoker for any signs of damage or wear. Address any issues promptly to prevent further damage.
– Keep a log of your smoking sessions, noting the temperature, cooking times, and any adjustments you made. This will help you fine-tune your smoking technique and achieve consistent results.
Enjoying the Fruits of Your Labor
Building your own smoker can be a rewarding and enjoyable experience. The satisfaction of using a smoker you built yourself is unmatched. Not only do you get to enjoy delicious smoked meats and other foods, but you also have the opportunity to share your smoker-building journey with others.
By building your own smoker, you can customize it to fit your specific needs and preferences. You can choose the size, shape, and style that best suits your cooking style. You can also save money compared to buying a pre-made smoker.
Remember to take your time during the construction process and follow all safety guidelines. Building a smoker requires attention to detail and proper planning. With patience and perseverance, you can create a high-quality smoker that will provide years of delicious meals and memorable experiences.
Originally posted 2024-02-07 01:50:42.


