
To use a charcoal smoker, light the charcoal and allow it to ash over, add wood chips for flavor, place your food on the grates, adjust the vents to control temperature, and maintain a consistent heat and smoke throughout the cooking process.
A Beginner’s Guide to Using a Charcoal Smoker
Charcoal smokers are a popular choice among barbecue enthusiasts for their ability to infuse a rich, smoky flavor into meats and other foods. These smokers use charcoal as the primary fuel source, which provides a consistent heat source and imparts a distinct flavor to the food. Charcoal smokers come in various shapes and sizes, allowing you to choose the one that best suits your needs.
One of the advantages of using a charcoal smoker is the ability to control the temperature. Charcoal smokers typically have vents that allow you to adjust the airflow, which in turn affects the temperature inside the smoker. This level of control allows you to achieve the perfect cooking temperature for your meat, resulting in tender, flavorful results.
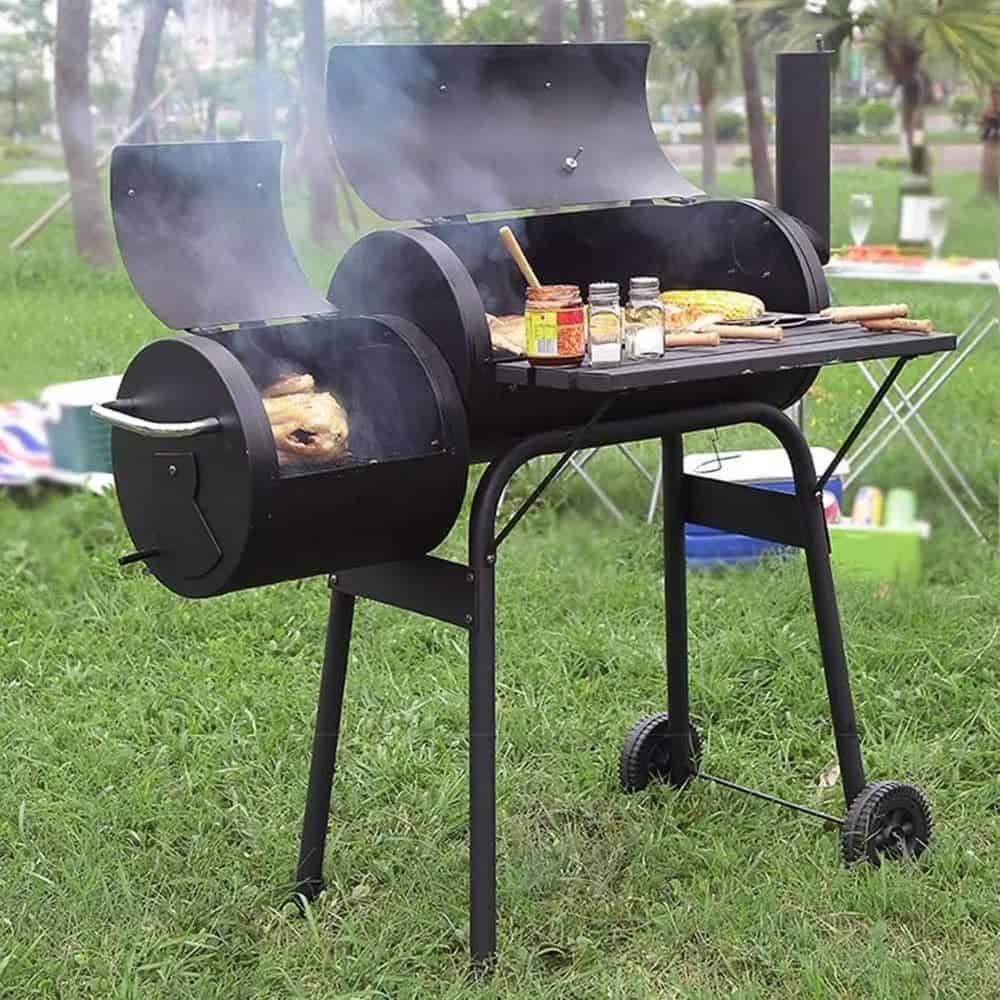
There are several types of charcoal smokers available on the market. The most common types include vertical water smokers, offset smokers, and kettle grills. Vertical water smokers are designed with a water pan that helps regulate the temperature and keep the meat moist. Offset smokers have a separate firebox attached to the main cooking chamber, allowing for indirect heat and smoke. Kettle grills, on the other hand, are versatile and can be used for both grilling and smoking.
Choosing the Right Charcoal Smoker for Your Needs
When choosing a charcoal smoker, there are several factors to consider. First and foremost, you’ll want to think about your budget and how much you’re willing to spend on a smoker. There are many popular brands of charcoal smokers available, ranging from affordable options to high-end models.
Some popular brands of charcoal smokers include Weber, Char-Broil, and Dyna-Glo. Weber is known for its high-quality construction and durability, while Char-Broil offers a range of affordable options for those on a budget. Dyna-Glo is another reputable brand that offers a variety of charcoal smokers with different features and sizes.
If you’re looking for a budget-friendly option, there are plenty of options available. Some affordable charcoal smokers include the Weber Smokey Mountain Cooker, the Char-Griller Akorn Kamado, and the Dyna-Glo Signature Series Vertical Offset Smoker. These smokers offer great value for the price and can produce excellent results.
Preparing Your Charcoal Smoker for Use
Before you start smoking your meat, it’s important to properly prepare your charcoal smoker. This involves assembling the smoker, cleaning and seasoning it, and preheating it to the desired temperature.
Assembling your charcoal smoker will vary depending on the model you choose. It’s important to carefully follow the manufacturer’s instructions to ensure that the smoker is assembled correctly. This will ensure that it functions properly and is safe to use.
Once your smoker is assembled, it’s important to clean and season it before using it for the first time. Cleaning involves removing any dust or debris from the smoker, while seasoning involves coating the interior surfaces with oil to create a non-stick surface and prevent rusting.
To season your smoker, start by wiping down the interior surfaces with a damp cloth to remove any dust or debris. Next, coat the interior surfaces with a thin layer of cooking oil, such as vegetable or canola oil. This can be done using a brush or a paper towel. Finally, preheat your smoker to a temperature of around 250°F (121°C) for about 2 hours. This will help burn off any remaining residue and create a protective layer of seasoning.
Selecting the Right Charcoal and Wood Chips for Smoking
When it comes to smoking meat, choosing the right charcoal and wood chips is crucial for achieving the desired flavor profile. There are several types of charcoal available, including briquettes and lump charcoal. Briquettes are made from compressed sawdust and other additives, while lump charcoal is made from natural hardwood.
Briquettes are a popular choice for charcoal smokers due to their consistent burn and long-lasting heat. They also tend to be more affordable than lump charcoal. Lump charcoal, on the other hand, is favored by some barbecue enthusiasts for its natural flavor and ability to reach higher temperatures.
In addition to charcoal, wood chips are used to add a smoky flavor to the meat. There are several types of wood chips available, each with its own distinct flavor profile. Some popular options include hickory, mesquite, apple, cherry, and oak.
When choosing wood chips, it’s important to consider the type of meat you’ll be smoking and the flavor profile you’re looking to achieve. For example, hickory is known for its strong, smoky flavor and pairs well with beef and pork. Apple and cherry wood chips have a milder, sweeter flavor that works well with poultry and fish.
The amount of charcoal and wood chips you’ll need will depend on the size of your smoker and the length of your smoking session. As a general rule of thumb, you’ll want to fill the charcoal chamber about halfway full with briquettes or lump charcoal. For wood chips, start with a small handful and add more as needed throughout the smoking process.
Lighting Your Charcoal Smoker: Tips and Tricks
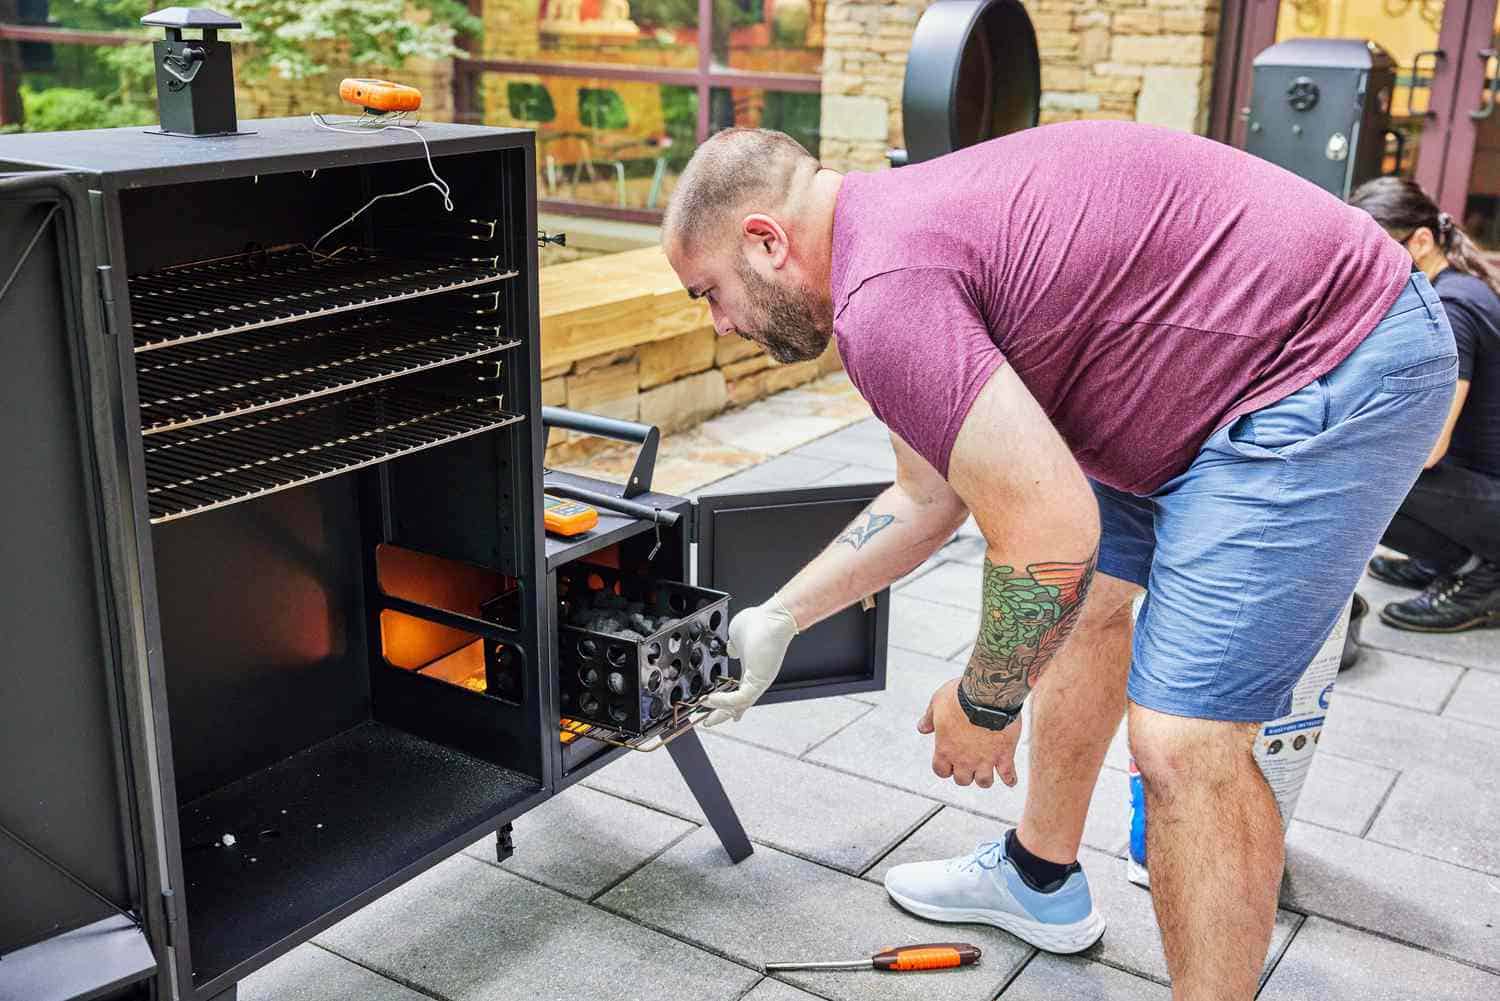
Lighting your charcoal smoker can sometimes be a challenge, but with the right techniques, you can ensure a successful start to your smoking session. There are several methods for lighting charcoal, including using a chimney starter, lighter fluid, or an electric starter.
A chimney starter is one of the most popular methods for lighting charcoal. To use a chimney starter, simply fill it with charcoal and place crumpled newspaper or paraffin cubes in the bottom. Light the newspaper or cubes and let the flames ignite the charcoal. Once the coals are fully lit and covered in ash, carefully pour them into the charcoal chamber of your smoker.
If you prefer to use lighter fluid, be sure to follow the manufacturer’s instructions and use it sparingly. Apply a small amount of lighter fluid to the charcoal and let it soak in for a few minutes before lighting. Once the coals are lit, allow them to burn until they are covered in ash before placing them in the smoker.
An electric starter is another convenient option for lighting charcoal. Simply place the electric starter in the charcoal chamber and let it heat up for about 10-15 minutes. Once the coals are fully lit, remove the starter and place the coals in the smoker.
When lighting your charcoal smoker, it’s important to avoid common mistakes that can affect the flavor of your food. One common mistake is using too much lighter fluid, which can leave a chemical taste on your food. Another mistake is not allowing the coals to burn until they are covered in ash before placing them in the smoker. This can result in an uneven burn and inconsistent temperatures.
To maintain a consistent temperature throughout your smoking session, it’s important to monitor the airflow and adjust the vents as needed. The vents on your smoker control the amount of oxygen that reaches the coals, which in turn affects the temperature. If you need to increase the temperature, open the vents to allow more oxygen in. If you need to decrease the temperature, close the vents partially to restrict airflow.
Maintaining the Right Temperature for Smoking
Maintaining a consistent temperature is crucial for successful smoking. Different types of meat require different temperature ranges to achieve optimal results. It’s important to understand how to adjust the temperature of your smoker and how to maintain it throughout the smoking process.
The temperature inside your smoker is primarily controlled by adjusting the airflow through the vents. Opening the vents allows more oxygen in, which increases the temperature. Closing the vents restricts airflow, which decreases the temperature.
To adjust the temperature, start by opening the vents fully and allowing the smoker to heat up. Once the desired temperature is reached, you can adjust the vents to maintain that temperature. It’s important to make small adjustments and monitor the temperature closely to avoid drastic fluctuations.
The temperature range for smoking meat can vary depending on the type of meat and the desired level of doneness. As a general guideline, poultry should be smoked at a temperature of around 225°F (107°C), while pork and beef can be smoked at temperatures ranging from 225°F (107°C) to 275°F (135°C). It’s important to use a meat thermometer to ensure that your meat reaches the appropriate internal temperature for safe consumption.
Smoking Techniques: Low and Slow vs. Hot and Fast
When it comes to smoking meat, there are two main techniques: low and slow smoking and hot and fast smoking. Each technique has its own advantages and is suited for different types of meat.
Low and slow smoking involves cooking the meat at a low temperature (usually around 225°F to 250°F) for an extended period of time. This technique allows the collagen in the meat to break down slowly, resulting in tender, juicy results. Low and slow smoking is ideal for tough cuts of meat, such as brisket or pork shoulder, that benefit from long cooking times.
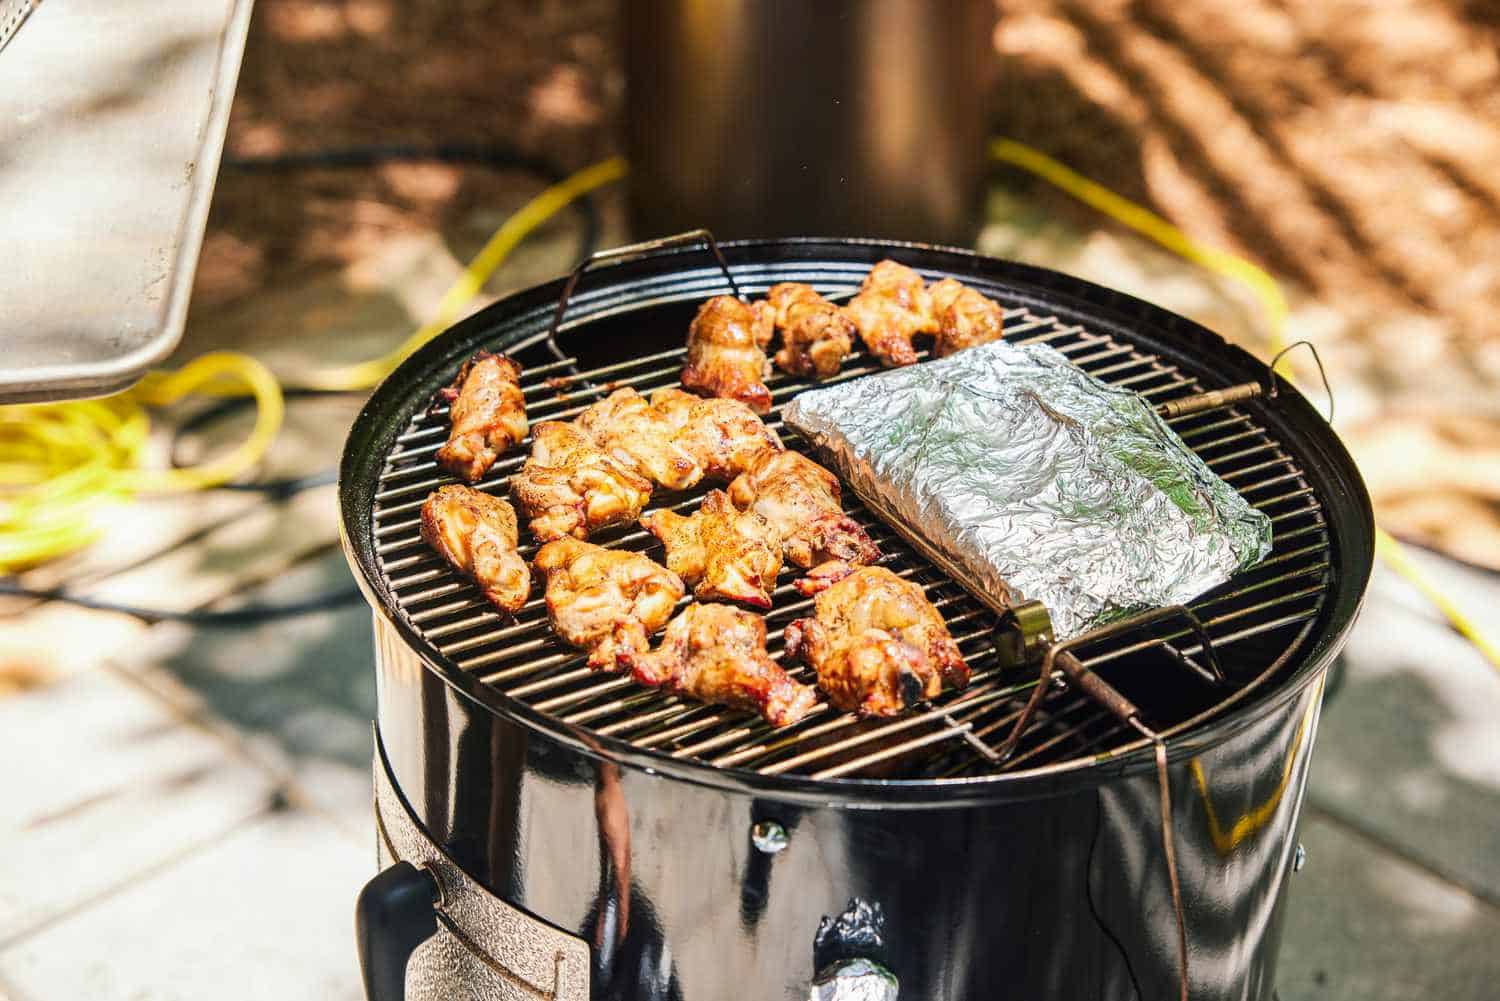
Hot and fast smoking, on the other hand, involves cooking the meat at a higher temperature (usually around 275°F to 325°F) for a shorter period of time. This technique is ideal for smaller cuts of meat, such as ribs or chicken wings, that don’t require as much time to cook. Hot and fast smoking can result in a slightly different texture compared to low and slow smoking, but it still produces delicious results.
Both techniques have their pros and cons. Low and slow smoking requires more time and patience, but it can result in incredibly tender and flavorful meat. Hot and fast smoking is quicker and more convenient, but it may not produce the same level of tenderness as low and slow smoking.
Preparing Your Meat for Smoking: Seasoning and Brining
Before placing your meat in the smoker, it’s important to properly season and brine it to enhance the flavor and moisture content. Seasoning involves adding a dry rub or marinade to the meat, while brining involves soaking the meat in a saltwater solution.
Seasoning your meat is an important step in the smoking process, as it helps to enhance the natural flavors of the meat and add depth of flavor. A dry rub is a mixture of herbs, spices, and other seasonings that is applied directly to the surface of the meat. It can be as simple as salt and pepper or as complex as a blend of various spices.
To season your meat, start by patting it dry with paper towels to remove any excess moisture. Next, generously apply the dry rub to all sides of the meat, making sure to coat it evenly. You can use your hands or a brush to apply the rub, depending on your preference. Once the meat is seasoned, let it sit at room temperature for about 30 minutes to allow the flavors to penetrate.
Brining is another technique that can help improve the flavor and moisture content of your meat. Brining involves soaking the meat in a saltwater solution for a period of time before smoking. The saltwater solution helps to tenderize the meat and infuse it with flavor.
To brine your meat, start by dissolving salt and any other desired seasonings in water. The ratio of salt to water will depend on the size of your meat and personal preference. Submerge the meat in the brine solution and refrigerate for several hours or overnight. Once the brining process is complete, remove the meat from the brine and pat it dry with paper towels before seasoning and smoking.
Placing Your Meat in the Smoker: Racks and Placement
When it comes to placing your meat in the smoker, it’s important to consider the size and shape of your smoker, as well as the type of meat you’re smoking. Proper placement of the meat will ensure even cooking and optimal smoke penetration.
Most charcoal smokers come with multiple racks or shelves that allow you to smoke multiple pieces of meat at once. When arranging your meat in the smoker, it’s important to leave enough space between each piece to allow for proper airflow and smoke circulation.
If you’re smoking different types of meat at the same time, it’s a good idea to place larger cuts on the bottom racks and smaller cuts on the top racks. This will ensure that all the meat cooks evenly and reaches the appropriate internal temperature.
Using racks can also help maximize space in your smoker. By using racks, you can stack multiple pieces of meat vertically, allowing you to smoke more food at once. Just be sure to leave enough space between each piece for proper airflow.
Overcrowding the smoker is a common mistake that can result in uneven cooking and longer cooking times. It’s important to give each piece of meat enough space to allow for proper smoke circulation and heat distribution. If you have a large amount of meat to smoke, consider smoking it in batches or investing in a larger smoker.
Monitoring Your Meat: Using a Meat Thermometer
Monitoring the internal temperature of your meat is crucial for ensuring that it reaches a safe temperature for consumption. Using a meat thermometer is the most accurate way to determine when your meat is done.
There are several types of meat thermometers available, including instant-read thermometers and leave-in thermometers. Instant-read thermometers are inserted into the meat at various intervals to check the temperature, while leave-in thermometers remain in the meat throughout the cooking process.
Instant-read thermometers are ideal for checking the temperature of smaller cuts of meat, such as steaks or chicken breasts. To use an instant-read thermometer, simply insert the probe into the thickest part of the meat and wait for the reading to stabilize. Be sure to avoid touching bone or fat, as this can give an inaccurate reading.
Leave-in thermometers are ideal for larger cuts of meat that require longer cooking times, such as brisket or pork shoulder. These thermometers have a probe that remains in the meat throughout the cooking process and a separate display unit that can be placed outside the smoker. This allows you to monitor the temperature without opening the smoker and losing heat.
When using a leave-in thermometer, insert the probe into the thickest part of the meat, making sure it is not touching bone or fat. Place the display unit outside the smoker where it is easily visible. Monitor the temperature throughout the cooking process and remove the meat from the smoker once it reaches the desired internal temperature.
Finishing Touches: Resting, Slicing, and Serving Your Smoked Meat
Once your meat has reached the desired internal temperature, it’s important to let it rest before slicing and serving. Resting allows the juices to redistribute throughout the meat, resulting in a more flavorful and tender end product.
To rest your meat, remove it from the smoker and place it on a cutting board or platter. Tent it loosely with aluminum foil to keep it warm and let it rest for at least 10-15 minutes. This resting period allows the juices to redistribute throughout the meat, resulting in a more tender and flavorful final product. During this time, the internal temperature of the meat will continue to rise slightly, so it’s important to factor this in when determining the desired level of doneness. Once the resting period is over, you can proceed to carve or serve the meat, ensuring a delicious and succulent outcome.
Originally posted 2024-02-07 01:37:50.